- Why fresh olives need to be prepared before pickling
- Key steps to safely pickle and preserve olives at home
- Tips to enhance your pickled olives with herbs and flavors
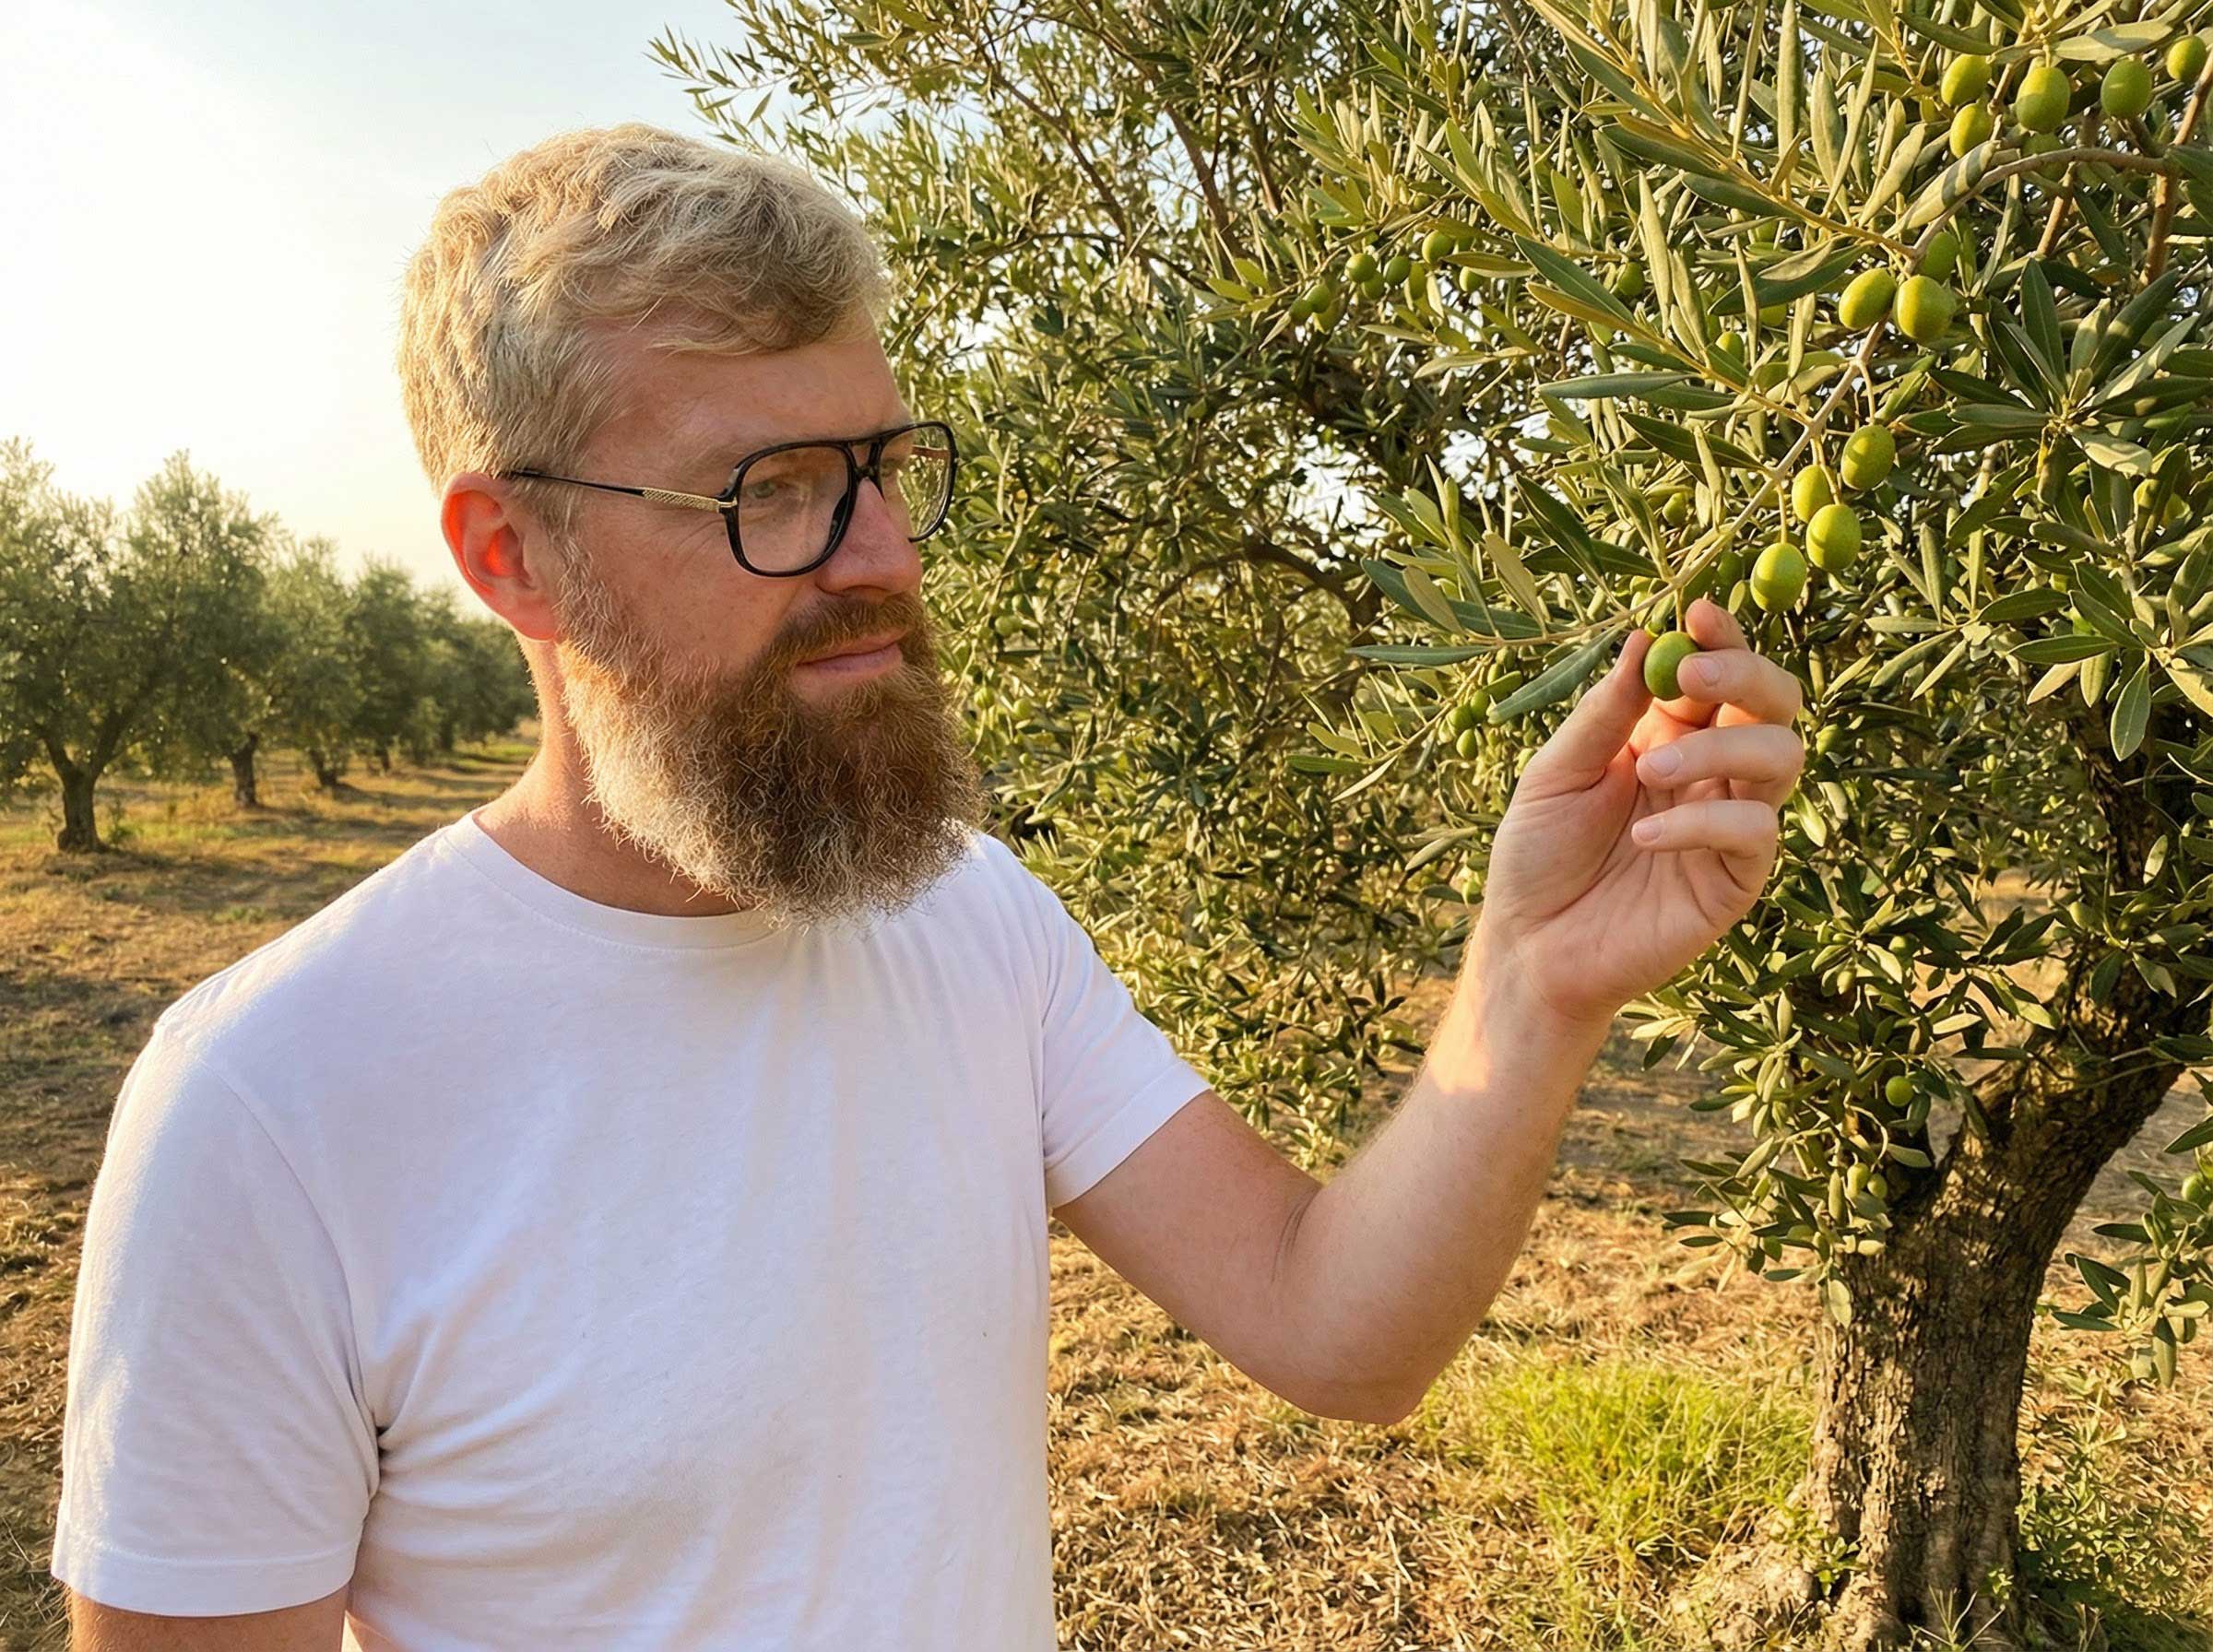
Picking ripe olives, washing them and popping them straight into your mouth – unfortunately, that doesn’t work. Fresh olives taste so bitter that they’re inedible. Before you can enjoy the fruits of the olive tree, they need to be soaked several times.
Getting ready – pickling olives, step one

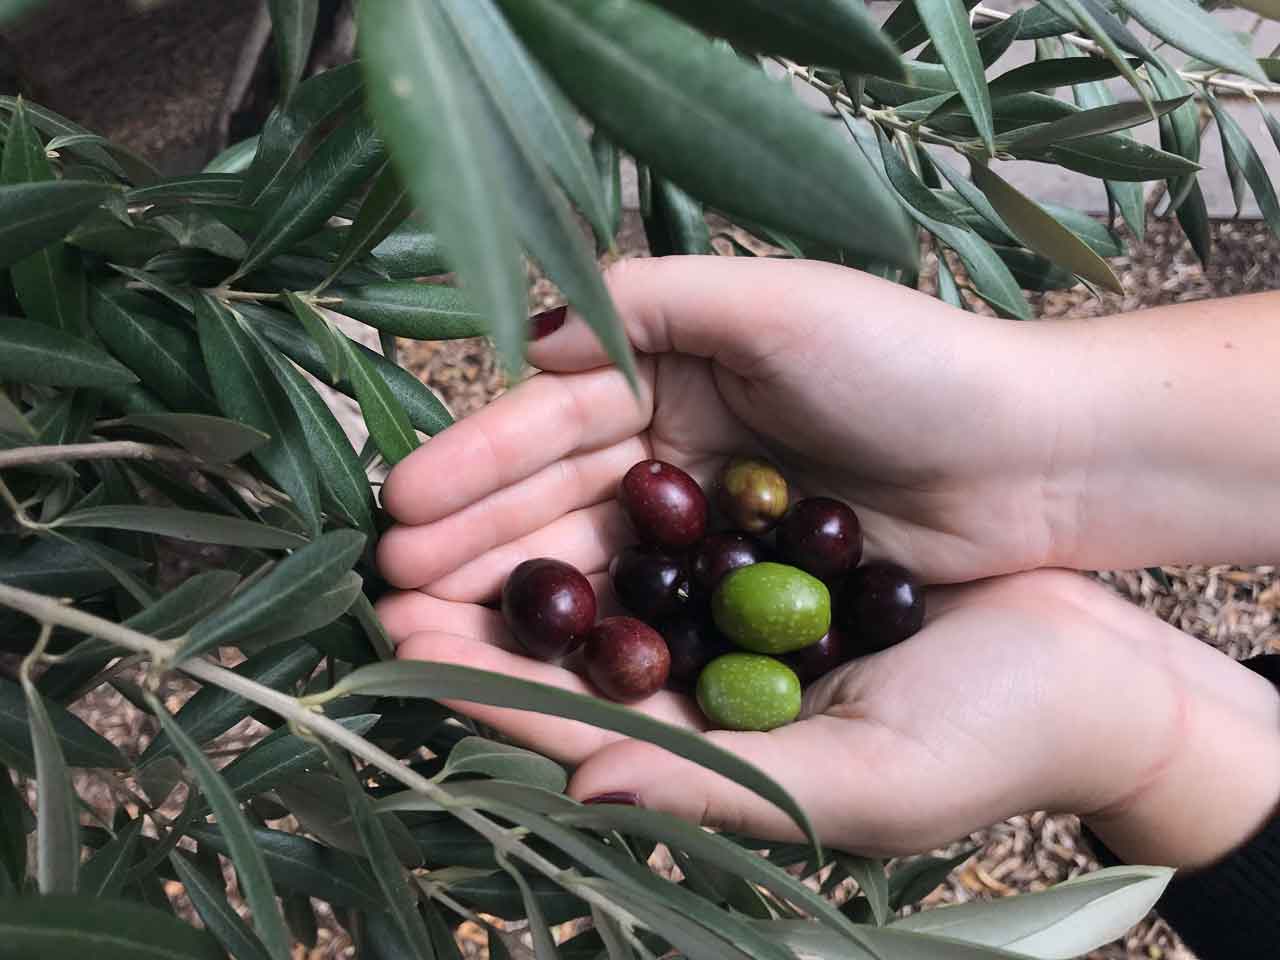
Before you can start pickling the olives, the fruits need to be sorted. Damaged or even slightly spoiled olives cannot be used. Only whole, intact ones are suitable for pickling and preserving. If you’ve harvested olives at different stages of ripeness, you should also sort them accordingly
After washing all the olives three times in a bowl of cold water, you can begin preparing them for pickling.
Using a small, sharp kitchen knife, make four lengthwise cuts all around each olive. This step is necessary so that the fruits of the olive tree lose their bitterness more quickly during soaking.
Faster loss of bitterness thanks to scoring
Now place the olives (optionally scored) into a preserving jar and fill it to the top with water. Place a plate on top as a lid so that even the olives floating on the surface are kept submerged. To flush out the bitter compounds from the fruit, replace the water in the jar once a day with fresh water. You should repeat this process for at least ten days, possibly longer. Whether the olives have lost enough bitterness for your taste is something you determine by trying them.

Tip 1: Don’t test an olive each time — instead, taste the olive water to determine the level of bitterness.
Tip 2: If you’re too lazy to score the olives, simply put them straight into the jar after washing. However, the leaching process will then take longer — you should expect it to take around four weeks.
Tip 3: If you don’t just want to pickle the olives but also enjoy or stuff them later, it’s worth pitting them before preserving. With an olive pitter, this can be done quickly and cleanly – ideal if, for example, you want to prepare stuffed olives with almonds or peppers. In addition, pitting shortens the soaking time.
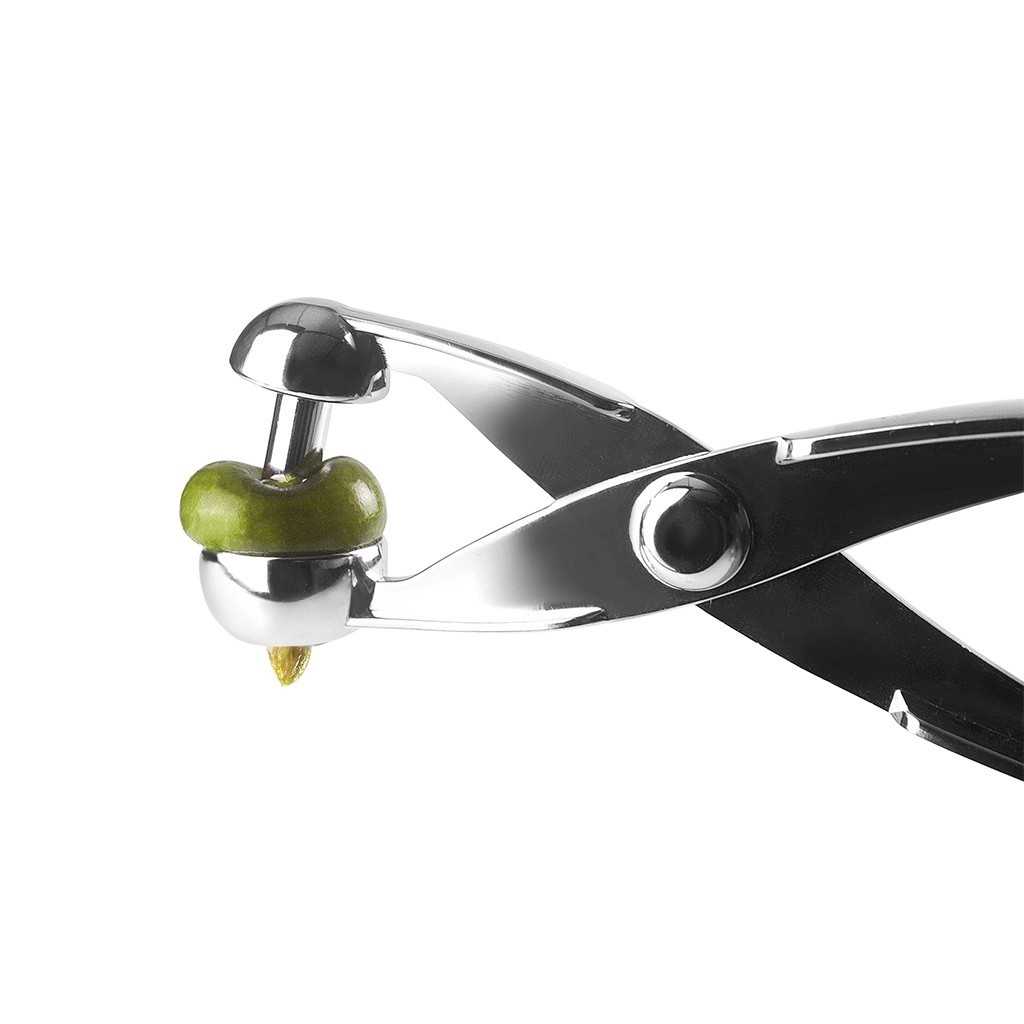
Practical pitter for cherries and olives. An indispensable tool for quick and easy pitting, ideal for jams or eating fresh fruit as well as pickling olives.
Making olives last: pickling, step two
Once the olives have been de-bittered, it’s time to pickle them for preservation. For this you will need:
- Per kilo of olives: 1 liter of water
- Per liter of water: 100 grams of salt (sea salt or table salt)
- Per liter of water: one lemon
- Olive oil

Here’s how it’s done:
- Squeeze the lemon and briefly boil the collected juice together with the water and salt.
- Let the brine cool down.
- Now pour the cooled brine into the preserving jar with the olives, replacing the fresh water.
- To protect the olives from mold or bacteria, pour olive oil over the brine. The layer of olive oil should be at least two centimeters thick.
- Close the jar and store it in a dark place.
- Before consumption, the scored olives must remain in the brine for at least six weeks. (Unscored olives will need about two months before they are ready to eat.)
- The maximum storage time is two years.
Tip 1: If you’d like to refine the basic recipe and give your olives an extra fresh touch, enhance your brine with lemon slices after it has cooled.
- For each liter of brine, cut half an organic lemon in half again and slice each quarter into thin pieces.
- Mix the lemon quarters into the cooled brine and pour it over the olives in the jar.
- Top up with two centimeters of olive oil.
Tip 2: Spices such as bay leaf and thyme also go wonderfully with the olives.
- For every two liters of brine, add one bay leaf and two small sprigs of thyme to the jar.
- The top layer must once again be olive oil.
Tip 3: Small baby carrots, little cauliflower florets, garlic cloves, or chilies are also excellent for giving the pickled olives a very special touch. The vegetables can later be enjoyed along with the olives.
Enhancing pickled olives – Step Three
At last, the waiting time is over and you can try your first homemade pickled olives: simply take them out of the jar and rinse them briefly under fresh water. Pat the olives dry with some kitchen paper and then drizzle them with a good olive oil. Excellent olive oils, perfect for eating raw, can be found at spanish-oil.com.
If you have only preserved the olives in brine and now want to give them a particularly Mediterranean touch, marinate the olives for one day in the refrigerator. For 500 grams of olives, use two sprigs of thyme, three sprigs of rosemary, two small bay leaves, one teaspoon of oregano, and two garlic cloves.

Place the olives in a sealable plastic container.
- Place the olives in a sealable plastic container.”
- Add the herbs.
- Top up with olive oil.
- Stir well and let the olives infuse in the container for one day in the refrigerator.
For an exotic marinade, use the following for half a kilo of olives:
- 60 grams of capers
- 2 teaspoons dried thyme
- 1 teaspoon oregano
- 1 teaspoon fennel seeds
- 2 garlic cloves
- A pinch of cayenne pepper
Enjoy!